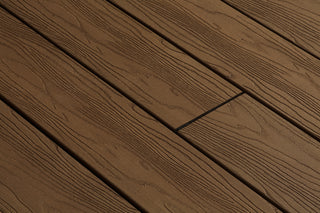
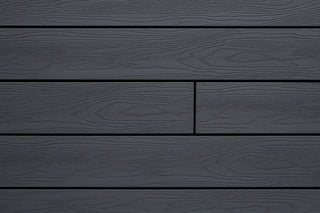
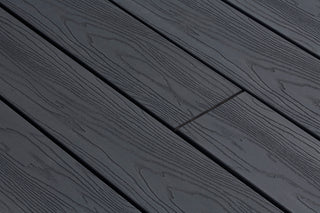
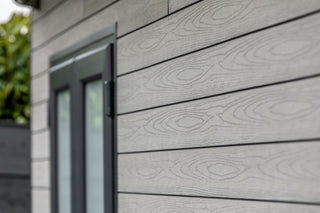
Cladding Installation Guide
Trekker's Knowledge Hub is here to provide guidelines and support to make installing your Trekker cladding easy!
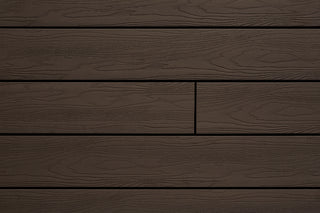
Quick Guide to Cladding
Download our quick guide to Trekker Cladding and Cladding accessories

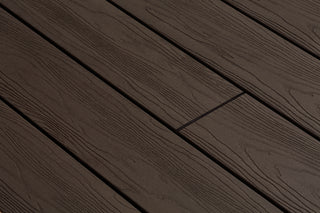
Installation Guides
Download our detailed instruction manual for Trekker Cladding products
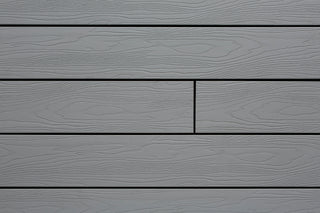
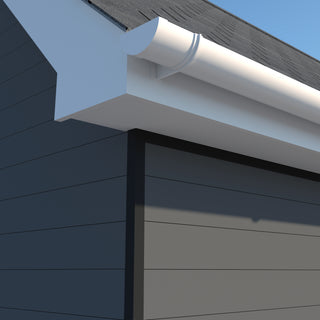
Installation Sequence
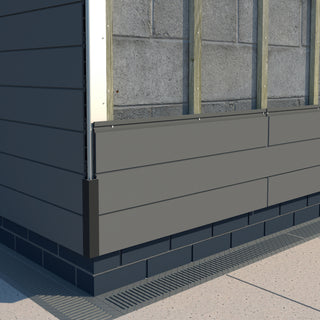
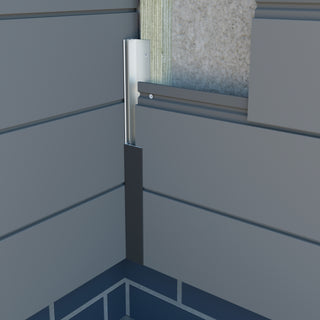
A quick guide to the installation sequence for an External Corner
Step 1
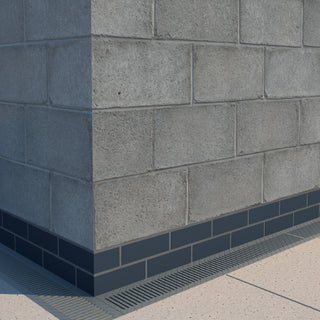
Area is ready for installation
Step 2
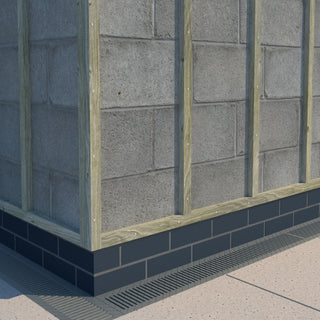
Timber battoning fixed to the surfaces

Step 3
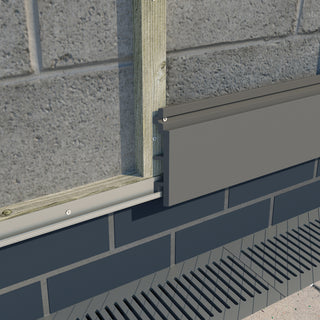
A- Install starter rail
B- Install Base Plate for external corner
Step 4
Install the first row of Trekker cladding board in the starter rail

Step 5
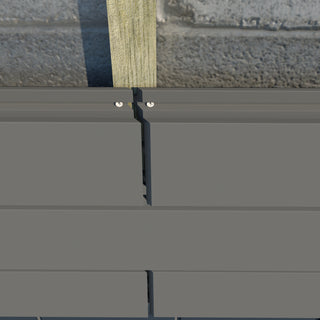
Continue Trekker cladding boards with header joints over a batten
Step 6
Use a 6-8mm expansion gap and cut chamfered at 45º to minimise visual impact
Step 7
Install a top cover for external corner to neatly cover all expansion requirements
A quick guide to the installation sequence for an Internal Corner
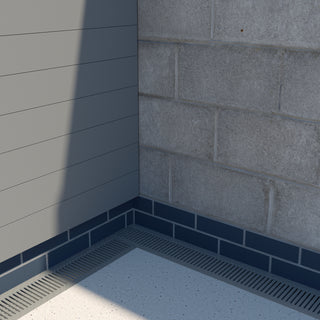
Step 1
Complete installation on one wall
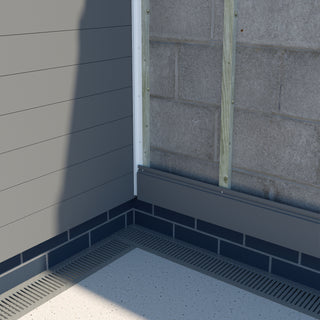
Step 2
A- Install aluminium base plate for stop trim
B- Install Trekker cladding boards
Step 3
Install top cover for stop trim
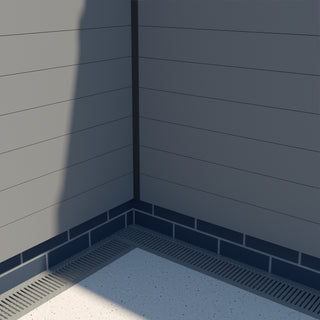
Step 4
Completed sequence
Trekker Door Reveal
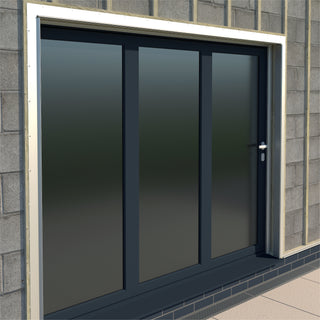
Step 1
A - Install timber battens
B- Install base plate for external corners
C- Install base plate for window trim
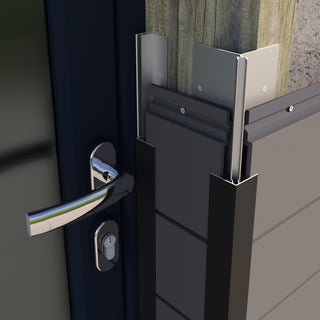
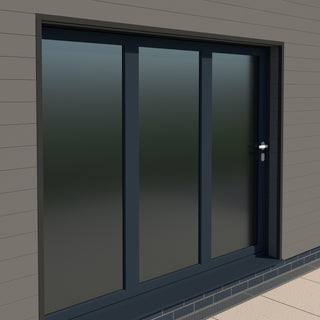
Step 3
Completed sequence
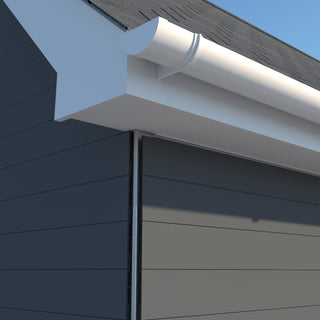
Trekker Soffit Detail
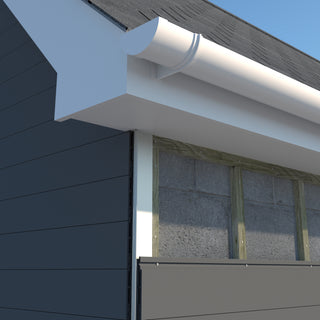
Step 1
Install Trekker cladding boards
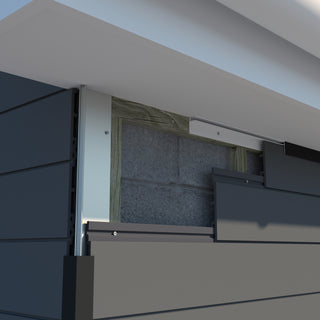
Step 2
Install base plate for stop trim flush to soffit
Step 3
Continue to install Trekker cladding boards to surface
Step 4
Install top covers to external corners for a neat finish